
WordPressサイトのURLの前にある「http://」を「https://」にするとセキュリティが強化されてSEOにも有利と言われています。読者の皆さんが安心してサイトに訪問してもらうためにも、ブログのセキュリティ強化は重要です。
そこで今回はXserverをお使いの人にカンタンにWordPressブログをhttps化する手順を解説します。
※2016年7月4日現在。エックスサーバーが完全無料でHTTPS化のサービスを始めました!
独自SSL – 機能 | レンタルサーバー 高速・高機能・高安定性の【エックスサーバー】
XserverでSSLを契約する手順
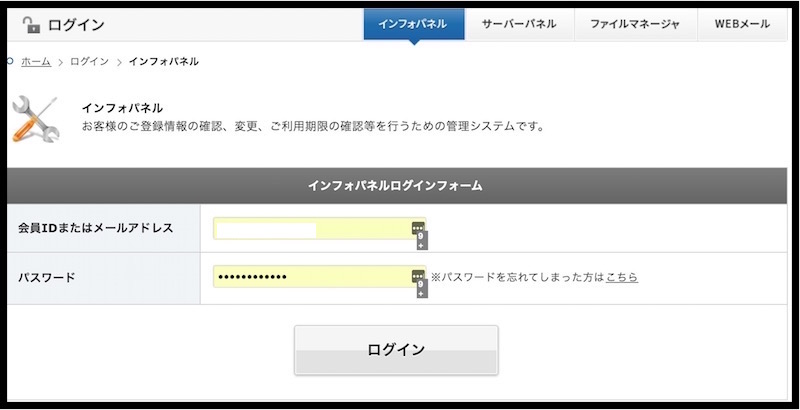
インフォパネルにログインします。
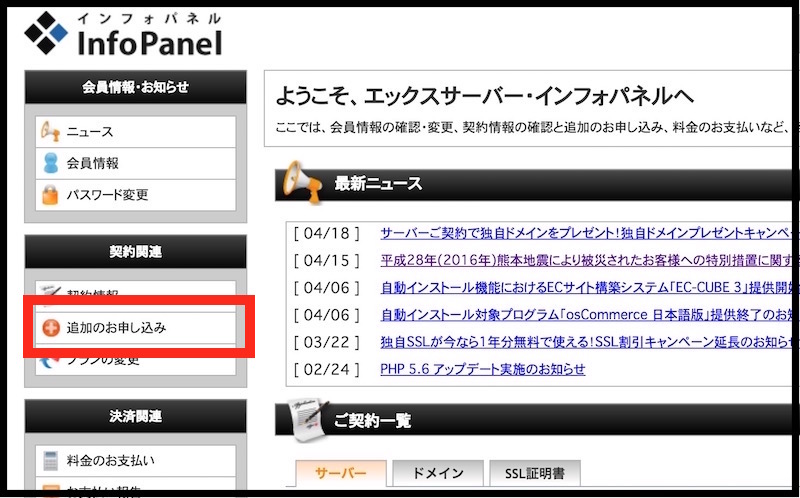
追加のお申し込みをクリック。
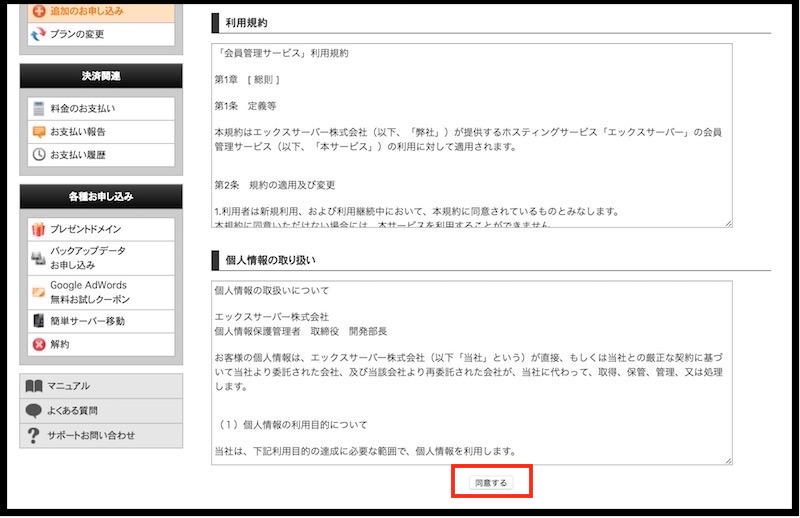
同意します。
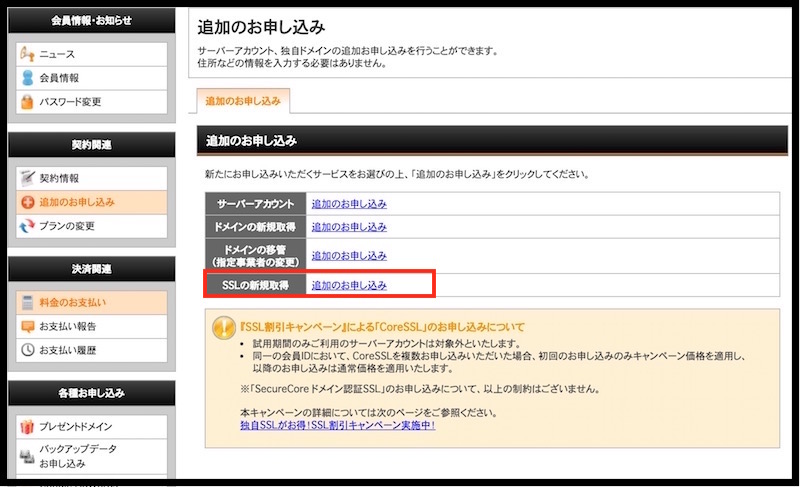
SSLの新規取得で追加のお申し込みをクリックします。
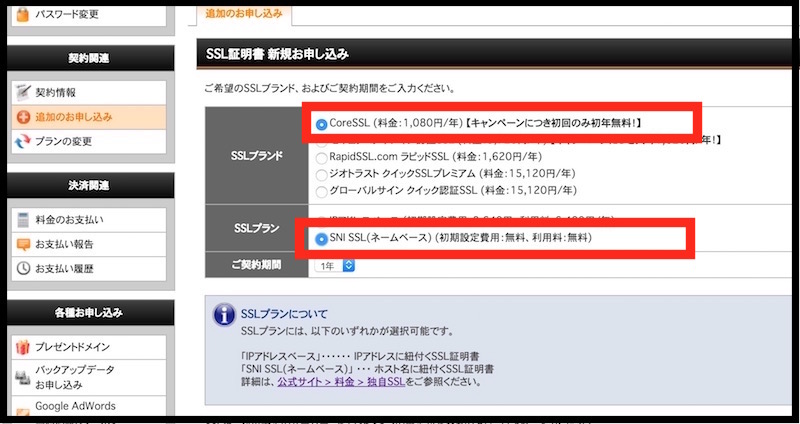
以下を選択して下さい。
- CoreSSL(料金:1,080円/年)
- SNI SSL(ネームベース)
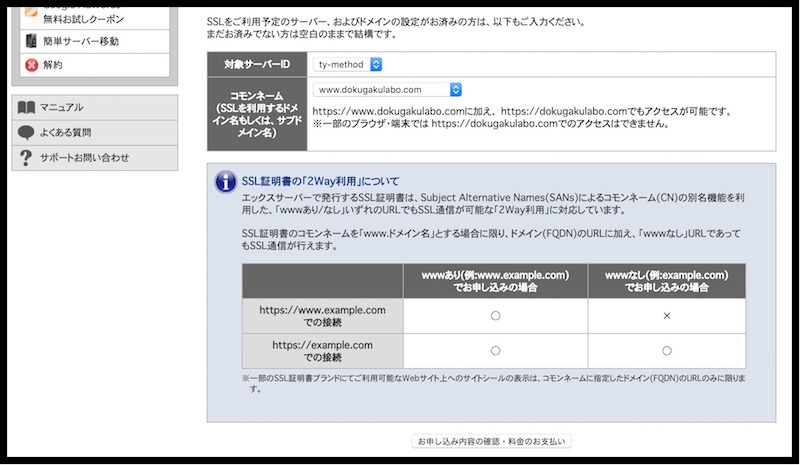
コモンネームはwww付きのドメインを選択しておきましょう。

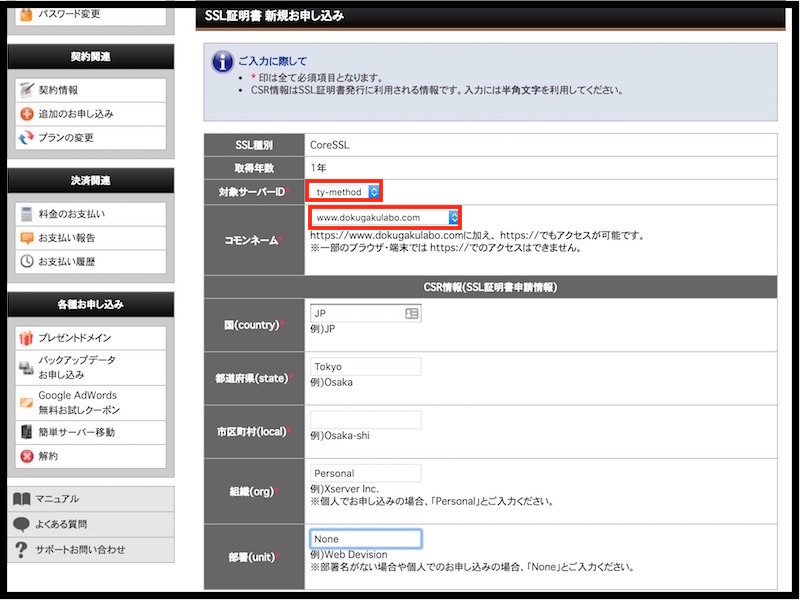
必要事項を入力します。
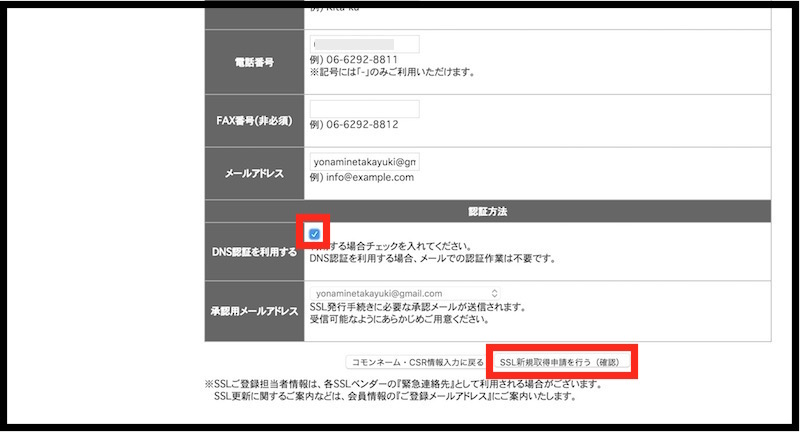
DNS認証を利用するにはチェックを入れて下さい。
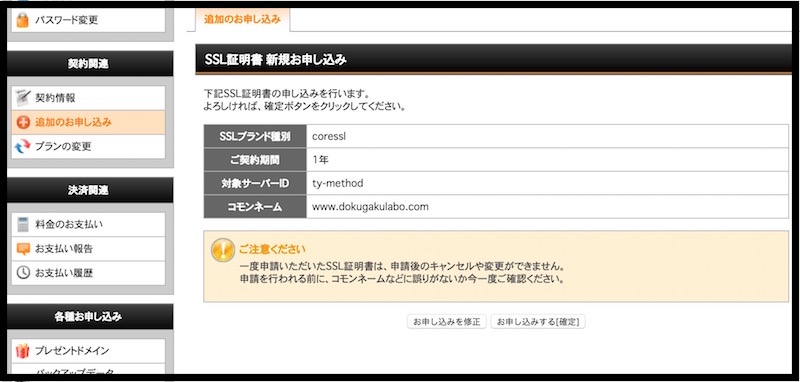
終わったらSSL新規取得申請を行うを押します。
数時間〜1日Xserverからのメールを待つ。https導入完了!
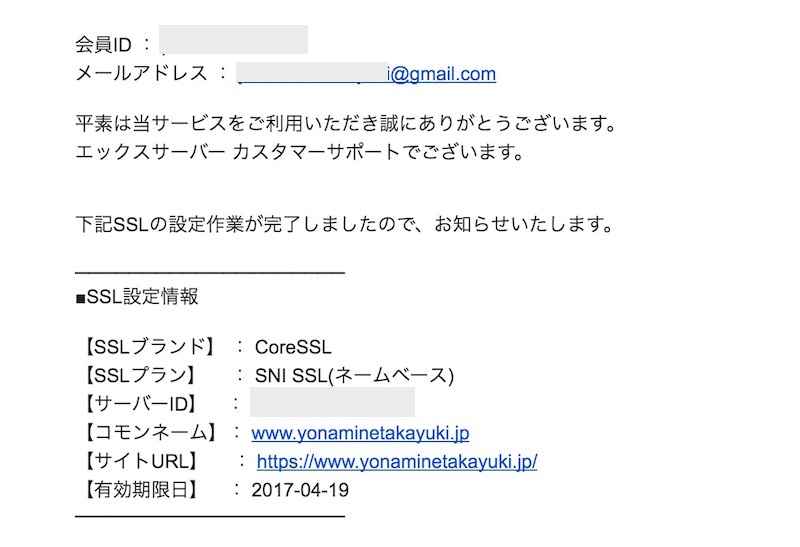
申請をしてから早ければ1時間、
遅くて1日ほどでエックスサーバーからメールが届きます。
このメールが来たら
サイトにhttpsとsを付けて表示してみてください。
これで設定は完了です。お疲れ様でした。
完全にhttps化するためのチェックポイント
一般設定のサイトアドレスをhttpsに
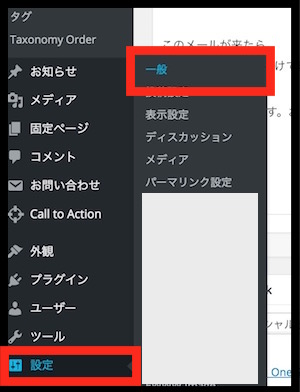
WordPressのダッシュボードより
左画面の設定>一般を押します。
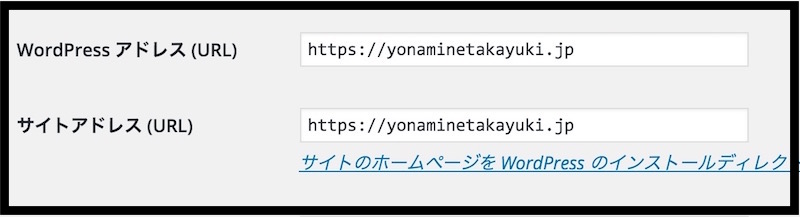
WordPressアドレスとサイトアドレスを
httpsに変更して保存します。
.htaccessでhttpへのアクセスをhttpsへリダイレクト
ドメイン>publuc_html>にある.htaccessファイルをFTPソフトでダウンロード、テキストエディタを開いて下記コードをファイルの一番上にコピペします。保存後、上書きアップロードします。
<IfModule mod_rewrite.c>
RewriteEngine On
RewriteCond %{HTTPS} off
RewriteRule ^(.*)$ https://%{HTTP_HOST}%{REQUEST_URI} [R,L]
</IfModule>
GoogleアナリティクスとGoogleSeachConsoleのURLをhttpsに変更する
この2つのサイト登録情報も変更します。
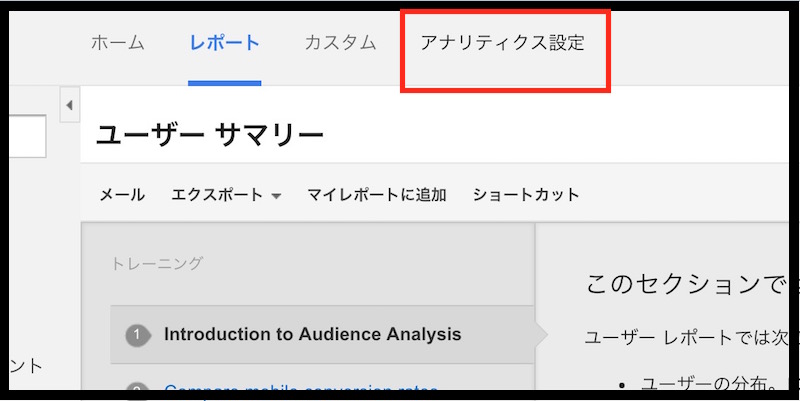
Googleアナリティクス画面よりアナリティクス設定を押します。
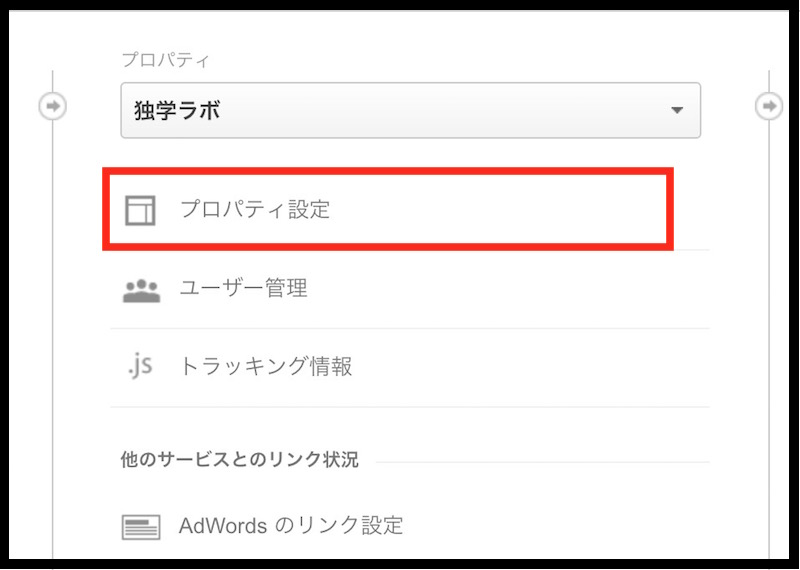
プロパティ設定を押す。
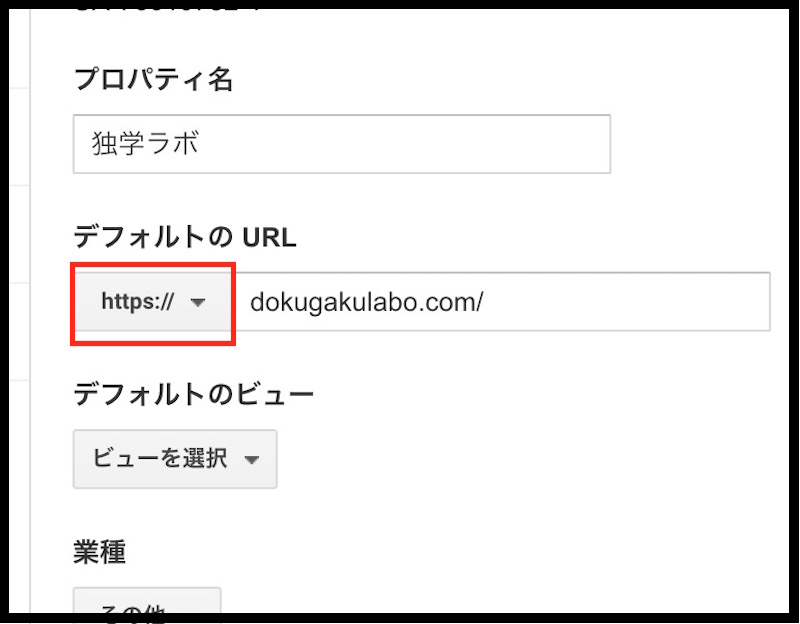
デフォルトURLの部分をhttpからhttpsに変更して保存します。