今回はAudacity(オーダシティ)というフリーソフトを使って、MacPC単体で高品質な音声を録音する方法を解説する。
Mac標準搭載の「QuickTimePlayer」でも録音はできるのだが、MP3ファイルへ変換する手間がやや面倒なので、Audacityを使ったほうが効率的に音声を録音することが出来る。
Audacityのインストール方法
Audacityダウンロードページへアクセス。MacかWindowsを選んでファイルをダウンロードしよう。
![Audacityインストールファイルのダウンロード](https://n.hero-academy.jp/wp-content/uploads/2015/07/audacity-install1.png)
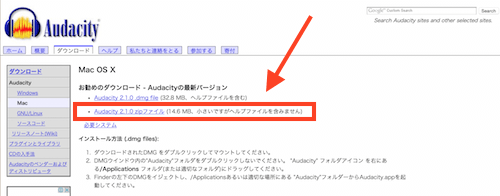
リンクを押したら自動ダウンロードが始まる。始まらない場合はリンクを押してダウンロードしよう。
![audacity-install2](https://n.hero-academy.jp/wp-content/uploads/2015/07/audacity-install2.png)
任意のフォルダにダウンロード。
![audacity-install3](https://n.hero-academy.jp/wp-content/uploads/2015/07/audacity-install3.png)
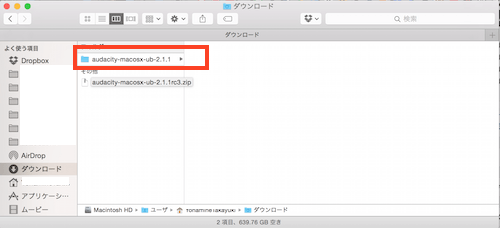
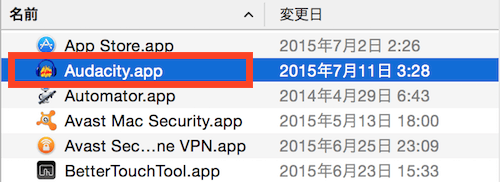
ダウンロード出来たらファイルを開く(展開)。Audacityアプリファイルが出たらMacのアプリケーションフォルダに移動またはコピーしよう。
![audacity-install4](https://n.hero-academy.jp/wp-content/uploads/2015/07/audacity-install4.png)
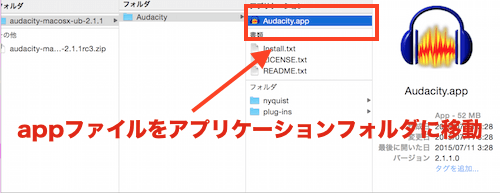
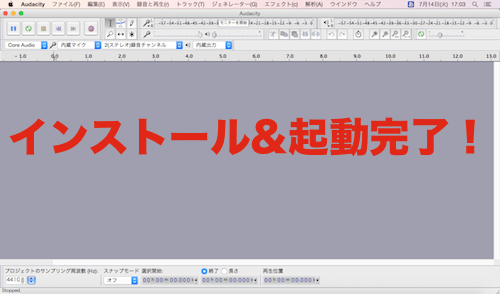
これでインストールが完了だ。appファイルをダブルクリックするとAudacityが開く。
![audacity-install5](https://n.hero-academy.jp/wp-content/uploads/2015/07/audacity-install5.png)
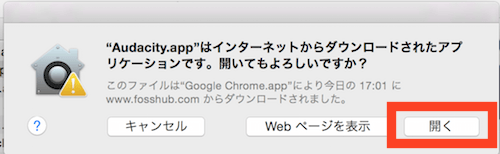
この画面になったら「開く」を押せばよい。
![audacity-install6](https://n.hero-academy.jp/wp-content/uploads/2015/07/audacity-install6.png)
![audacity-install7](https://n.hero-academy.jp/wp-content/uploads/2015/07/audacity-install7.png)
MP3変換をするためにLAMEファイルをインストール
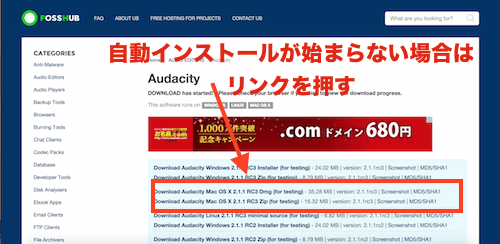
Audacityはそのままだと音声ファイルをmp3ファイルへ変換できないので、LAMEファイルをインストールする必要がある。Audacityは閉じて(command+Qでアプリ終了)、下記のサイトにアクセスしよう。
![audacity-install8](https://n.hero-academy.jp/wp-content/uploads/2015/07/audacity-install8-1.png)
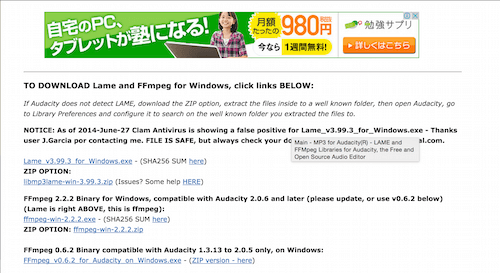
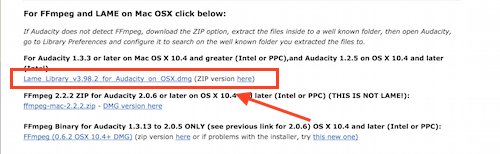
このようなサイトに飛んだら、MacあるいはWindowsそれぞれのファイルをダウンロード。
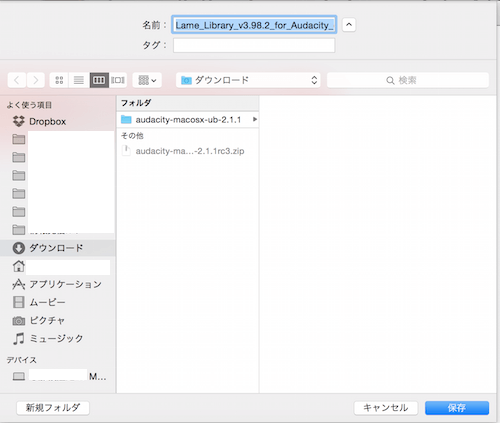
![audacity-install9](https://n.hero-academy.jp/wp-content/uploads/2015/07/audacity-install9.png)
任意のフォルダにダウンロード。
![audacity-install10](https://n.hero-academy.jp/wp-content/uploads/2015/07/audacity-install10-1.png)
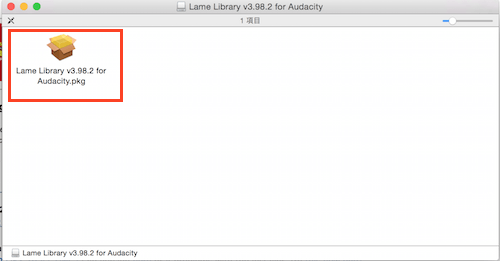
するとMacの場合だと下図のようなアイコンが出るのでダブルクリック。
![audacity-install11](https://n.hero-academy.jp/wp-content/uploads/2015/07/audacity-install11-1.png)
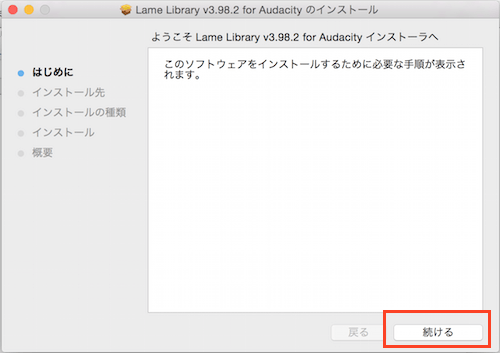
するとインストールシステムが開始されるので「続ける」を押そう。
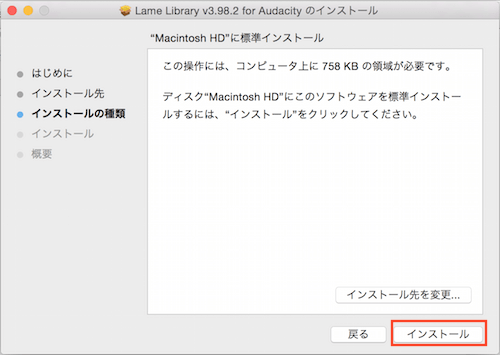
![audacity-install12](https://n.hero-academy.jp/wp-content/uploads/2015/07/audacity-install12.png)
「インストール」を押す。
![audacity-install13](https://n.hero-academy.jp/wp-content/uploads/2015/07/audacity-install13.png)
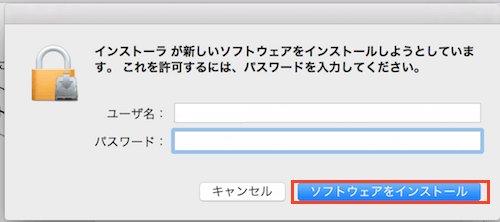
パスワードを入力して「ソフトウェアをインストール」を押す。
![audacity-install14](https://n.hero-academy.jp/wp-content/uploads/2015/07/audacity-install14.png)
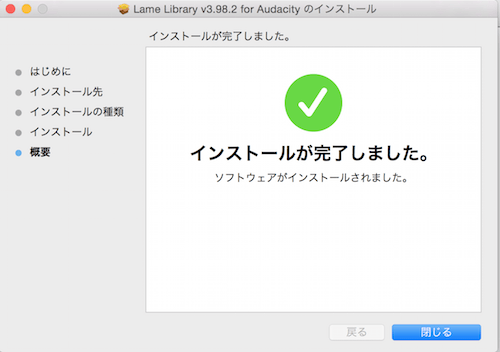
これでLameのインストールが完了。これでAudacityでmp3ファイルを書き出す・保存する事ができる。
![audacity-install15](https://n.hero-academy.jp/wp-content/uploads/2015/07/audacity-install15-1.png)
Audacityの基本的使い方とmp3書き出し方法
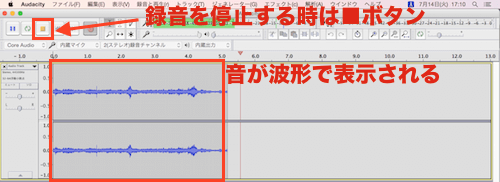
Audacityの使い方は簡単。下図のように●録音ボタンを押すと録音がスタートし、■停止ボタンを押すと録音が停止される。
![audacity-install16](https://n.hero-academy.jp/wp-content/uploads/2015/07/audacity-install16-1.png)
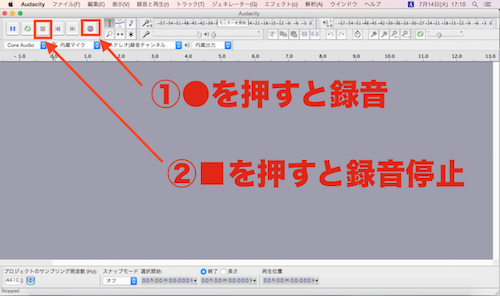
実際に録音ボタンを押すと下図のように音声が波形で表示される。■停止ボタンを押すと録音が終わる。試しにテキトーに録音してみよう。
![audacity-install17](https://n.hero-academy.jp/wp-content/uploads/2015/07/audacity-install17.png)
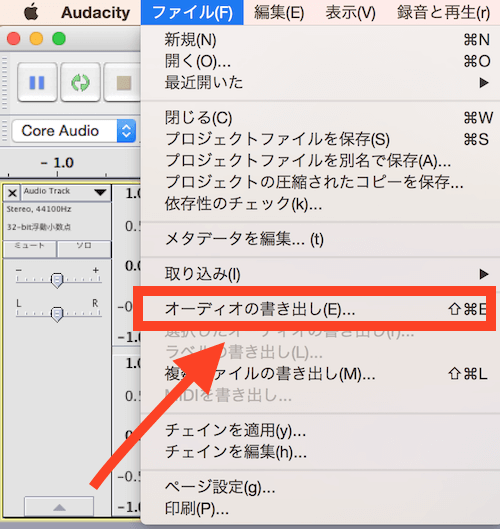
次はPC上部のツールバーの「ファイル>オーディオの書き出し」を押す。
![audacity-install18](https://n.hero-academy.jp/wp-content/uploads/2015/07/audacity-install18.png)
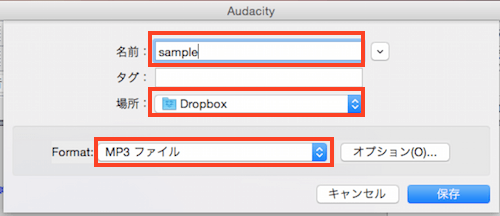
ファイル名を記入し、保存場所を指定して、FormatはMP3ファイルにして「保存」を押そう。
![audacity-install19](https://n.hero-academy.jp/wp-content/uploads/2015/07/audacity-install19.png)
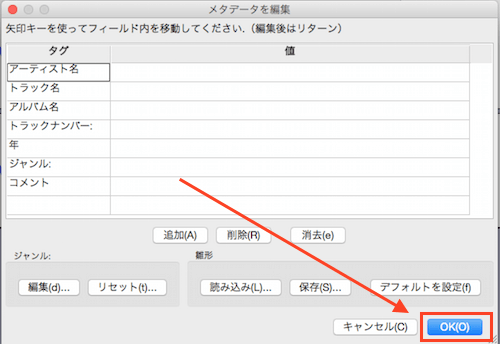
ここは入れても入れなくても良い。「OK」を押せば保存される。
![audacity-install20](https://n.hero-academy.jp/wp-content/uploads/2015/07/audacity-install20.png)
このようにmp3ファイルが書き出された。
![audacity-install21](http://yonaminetakayuki.jp/wp-content/uploads/2015/07/audacity-install21.png)