
WordPressブログを運営する上で、
読者に記事の更新情報をお届けしたり
読者とコミュニケーションを図るツールとして
Twitterを使うことも多い。
今回はTwitterの
新規アカウント登録方法を解説する。
Twitter公式サイトにアクセス
まずはTwitter公式サイトへアクセス。
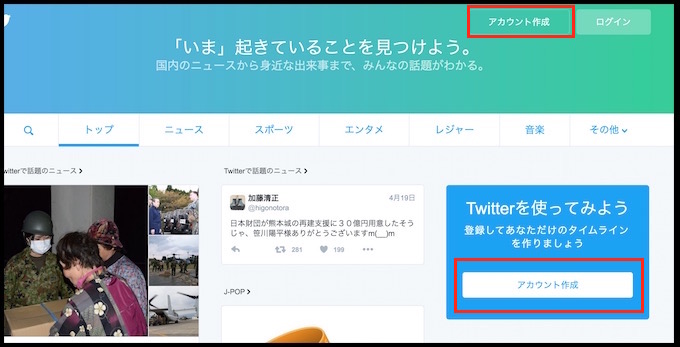
アカウント作成に進もう。
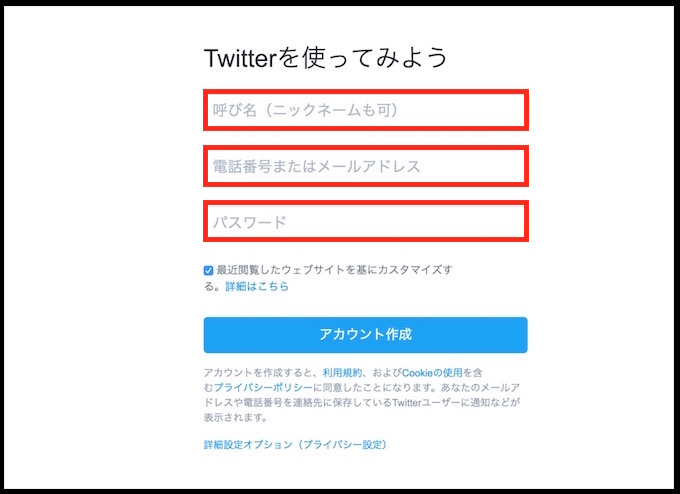
名前、メールアドレス、任意のパスワードなどを記入し
アカウント作成を押す。
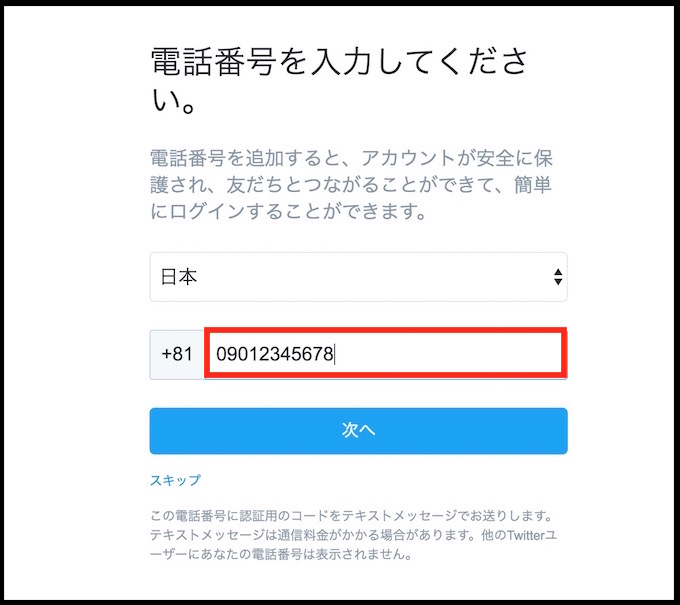
電話番号を入力しよう。
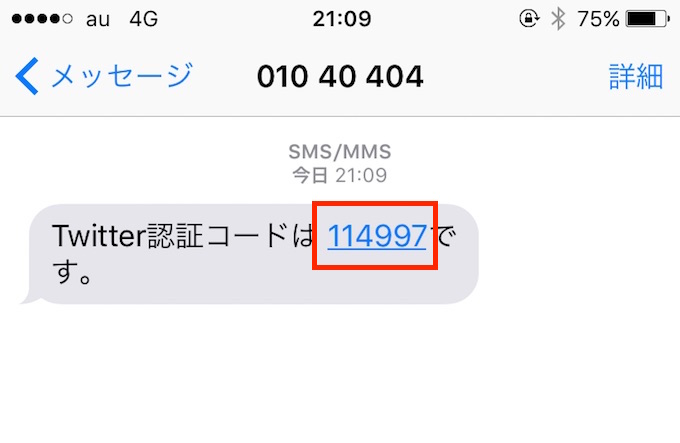
携帯に認証コードが送られるのでメモする。
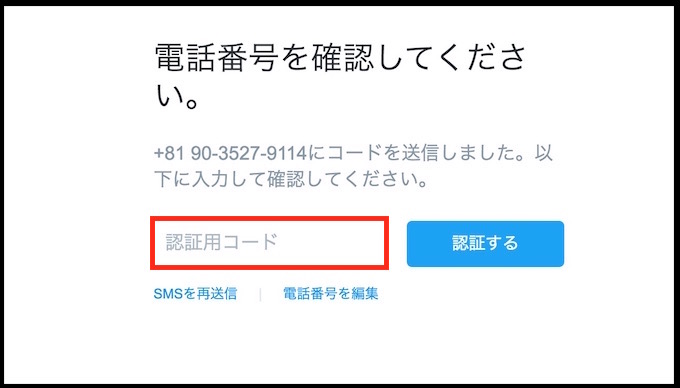
ブラウザに戻って認証用コードを入力する。
これでアカウント作成は一旦終了。
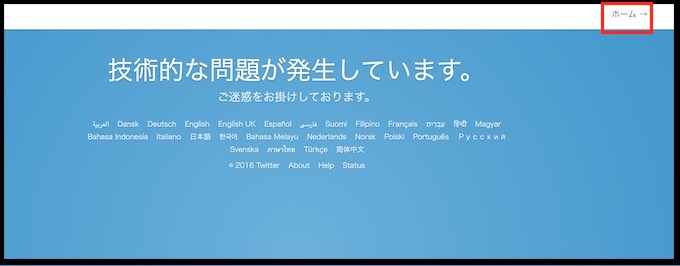
このような画面になることもあるが
無事にアカウントは作成されているのでホームを押そう。
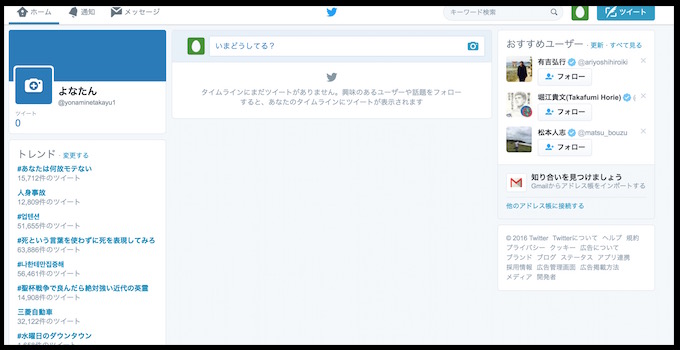
このようにアカウントが作られた。
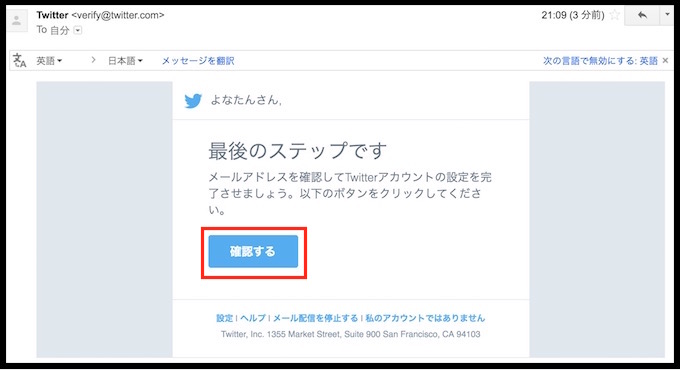
登録したメールアドレスに
アカウント本人確認用のメールが届くので
確認するを押そう。
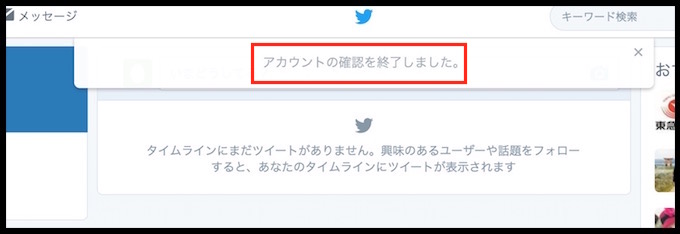
これで無事本人確認も済み
アカウントの確認が完了した。お疲れ様でした!

Twitterにログインする場合は
登録したメールアドレスとパスワードを記入してログインしよう。