
WordPressブログでコンテンツSEOを実践するなら、記事ごとに正しいメタタグとキーワード設定が必要になってくる。
WordPressのSEO用プラグインとして鉄板中の鉄板となるのが「All in One SEO Pack」です。今回はこのプラグインのインストールから基本的な使い方までを解説します。
インストール
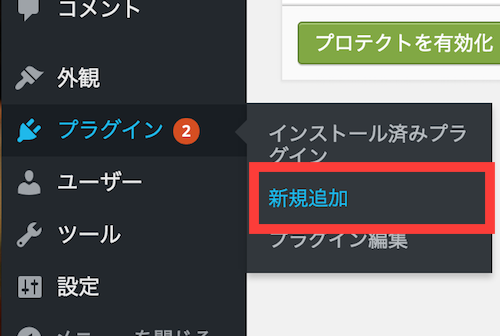
まずはWordPressの管理画面>プラグイン>新規追加を押しましょう。
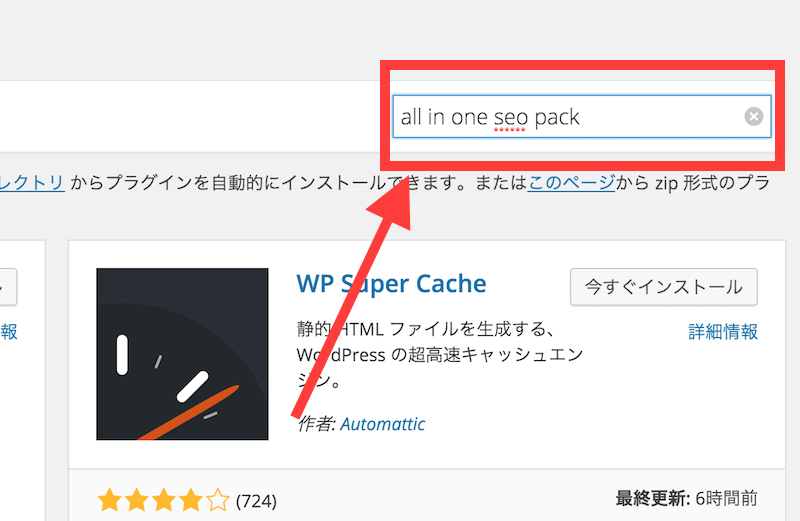
検索窓に「all in one seo pack」と打ってEnterを押します。
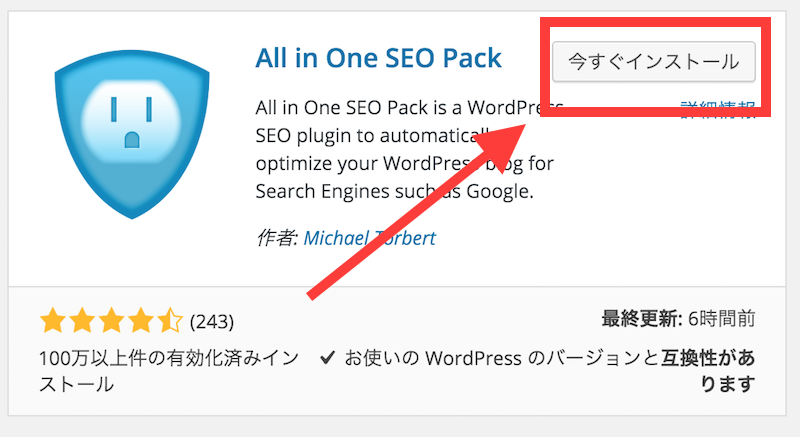
すると下図のような画面になるので「今すぐインストール」を押してインストールします。
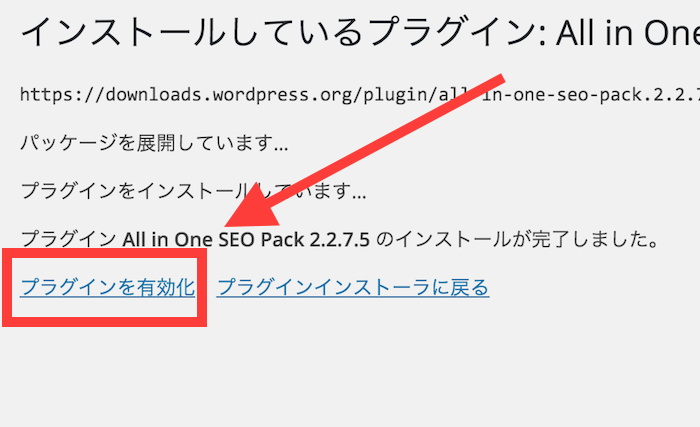
インストールが完了すると下図のような画面になるので「プラグインを有効化」を押しましょう。
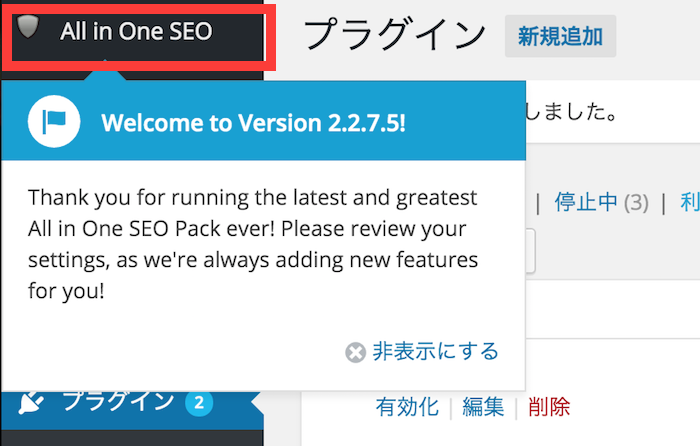
有効化が完了すると管理画面の左メニューに「All in One SEO」というメニューが新たに追加されました。ここにカーソルを合わせて「Gneneral Settings」を押しましょう。
基本設定(General Settings)の方法
General Settings
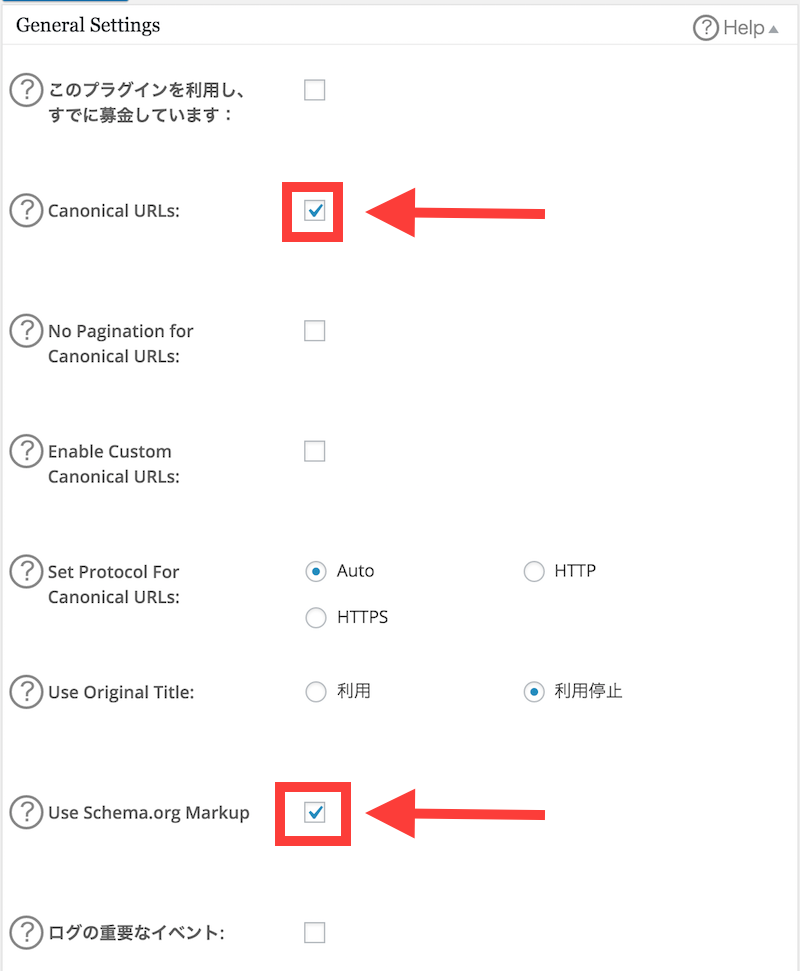
すると各種設定に移ります。まずGeneral Settingsは下図のように設定しましょう。
Home Page Settings
ここではHPのトップページのタイトル、詳細タグ、キーワードを設定します。
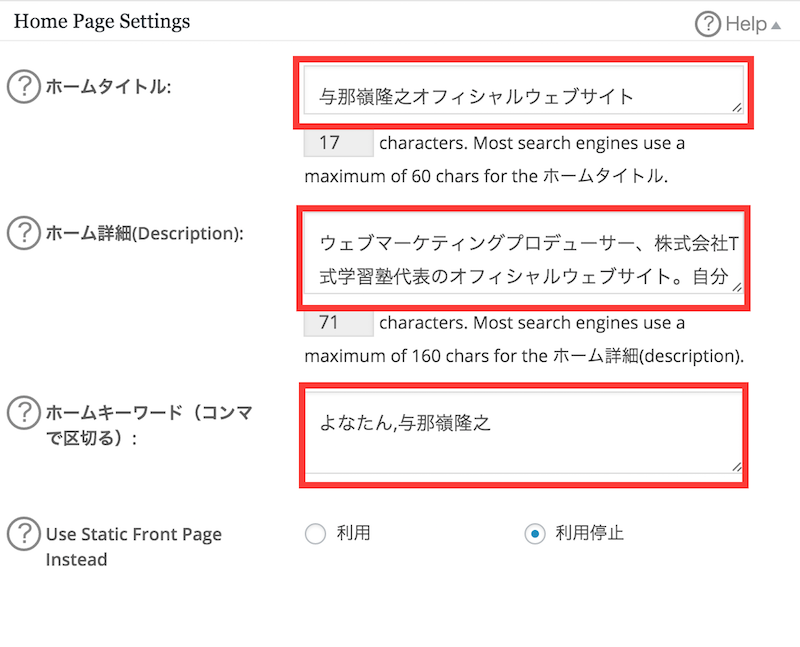
ホームページタイトルにSEOキーワードを入れたほうが良いでしょうか?
という質問をいただくことが有りますが、トップページはあまりSEOキーワードは関係ありません。入れられるなら入れたほうがいいですが、それよりも「端的で覚えやすいブログタイトル」をつけたほうがいいですよ。
なぜなら、ブログ名が覚えにくいと、ブックマークをしていない初見者が、次にブログに来訪する時に「あーあのブログってタイトルなんだっけなー?どんなキーワード検索で出たんだっけなー・・・」というふうになってリピート率を下げる原因になります。
だからブログタイトルは自分の名前とか、覚えやすいタイトルにするといいですよ。
Keyword Settings
Use Keywordsに「利用」を入れて、あとはチェックを外しましょう。
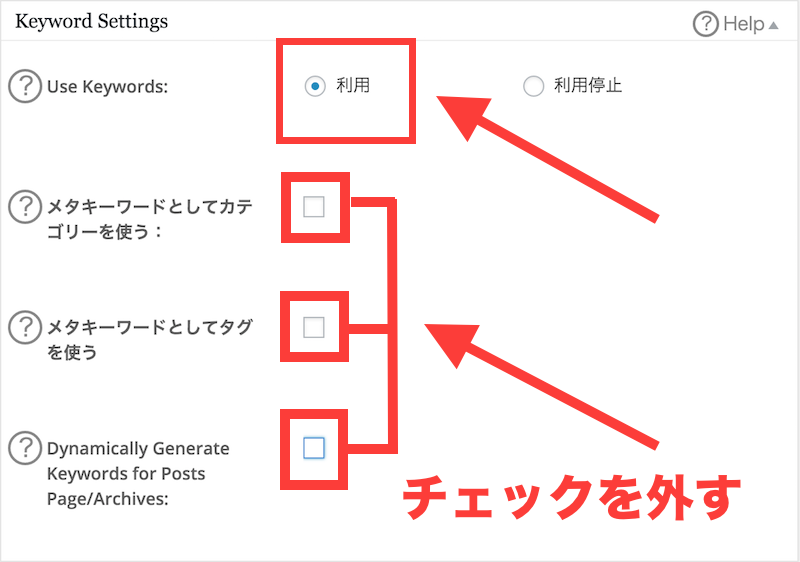
- メタキーワードとしてカテゴリーを使う:これは各ページのSEOキーワード設定にカテゴリーが追加されるということ。SEO的には1ページ1キーワードが望ましく、コレにチェックを入れると例えば僕のブログの場合だと「Wordpress」というキーワードも余分に追加されてしまう。SEO的にマイナス要因になるのでチェックを外す。
- メタキーワードとしてタグを使う:上記と同様の理由。
- Dynamically Generate Keywords for Posts Page/Archives:これはキーワードを自動生成しますよ、という意味。自分で設定するのでチェックを外す。
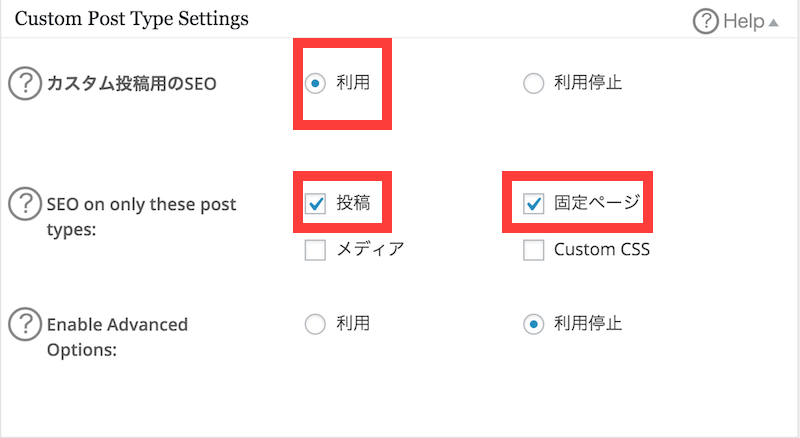
Custom Post Type Settings
下図のように設定してください。
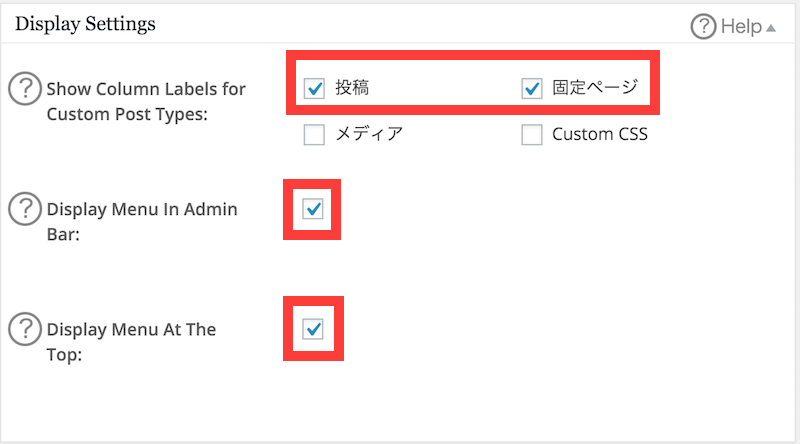
Display Settings
下図のようにチェックを入れましょう。
これは何かというと、投稿>投稿一覧で、設定したSEOタグを一覧出来る機能です。下図のようなイメージ。
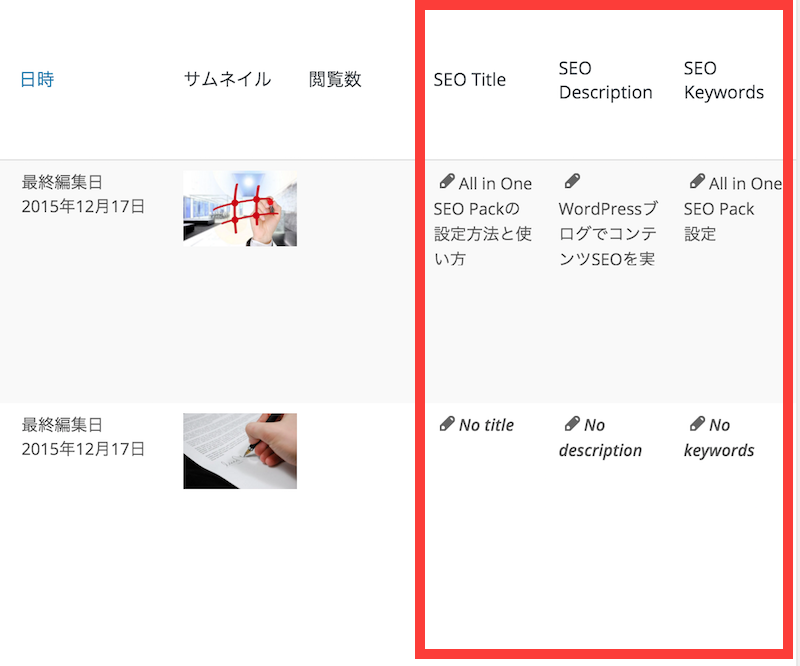
記事一覧を見てSEO対策をする場合には便利な機能。
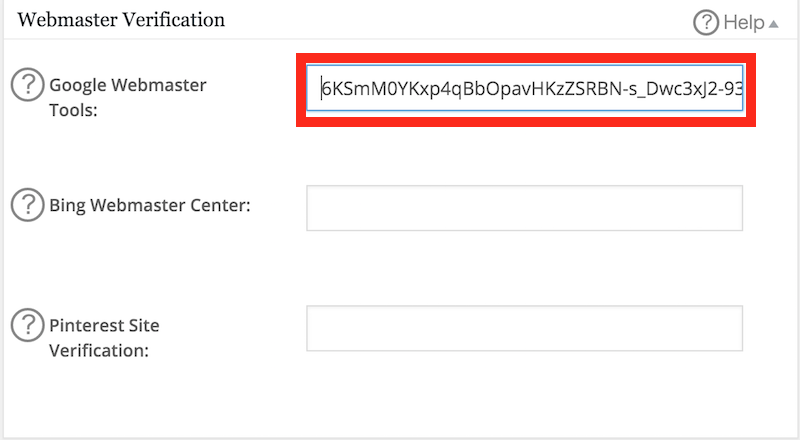
Webmaster Verification
こちらにはウェブマスターツール登録の際に必要なメタタグを入力する。
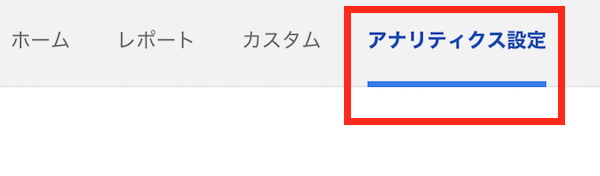
Googleアナリティクスの設定部分ではトラッキングIDを記入します。アナリティクス画面の上部メニューの「アナリティクス設定」を押します。
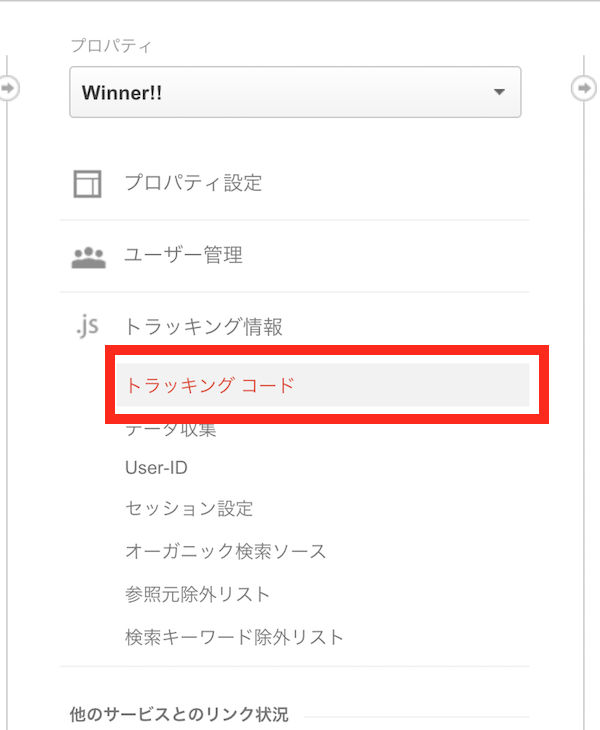
真ん中のプロパティ部分の「トラッキングコード」を押します。
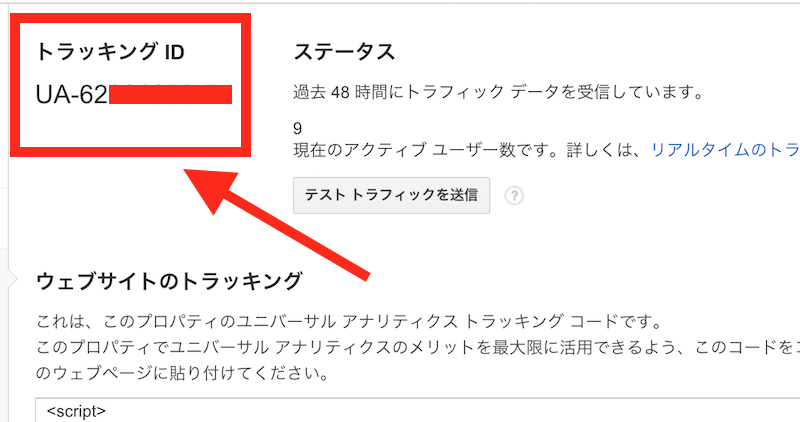
トラッキングIDをコピーします。
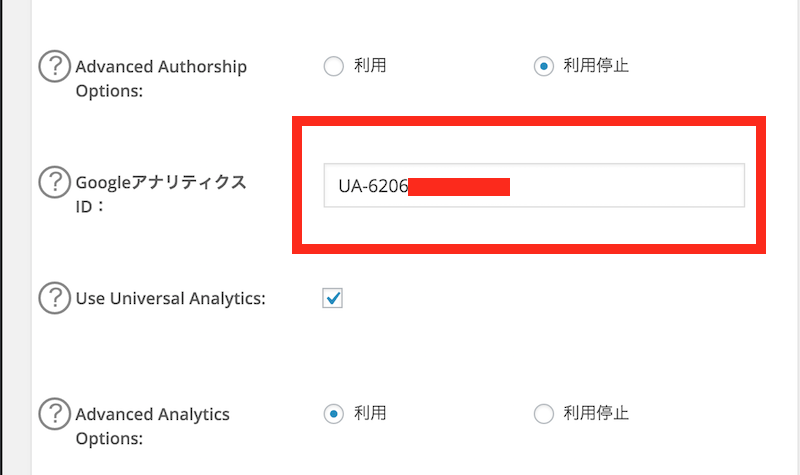
アナリティクスのトラッキングコードを下図の部分にペーストします。
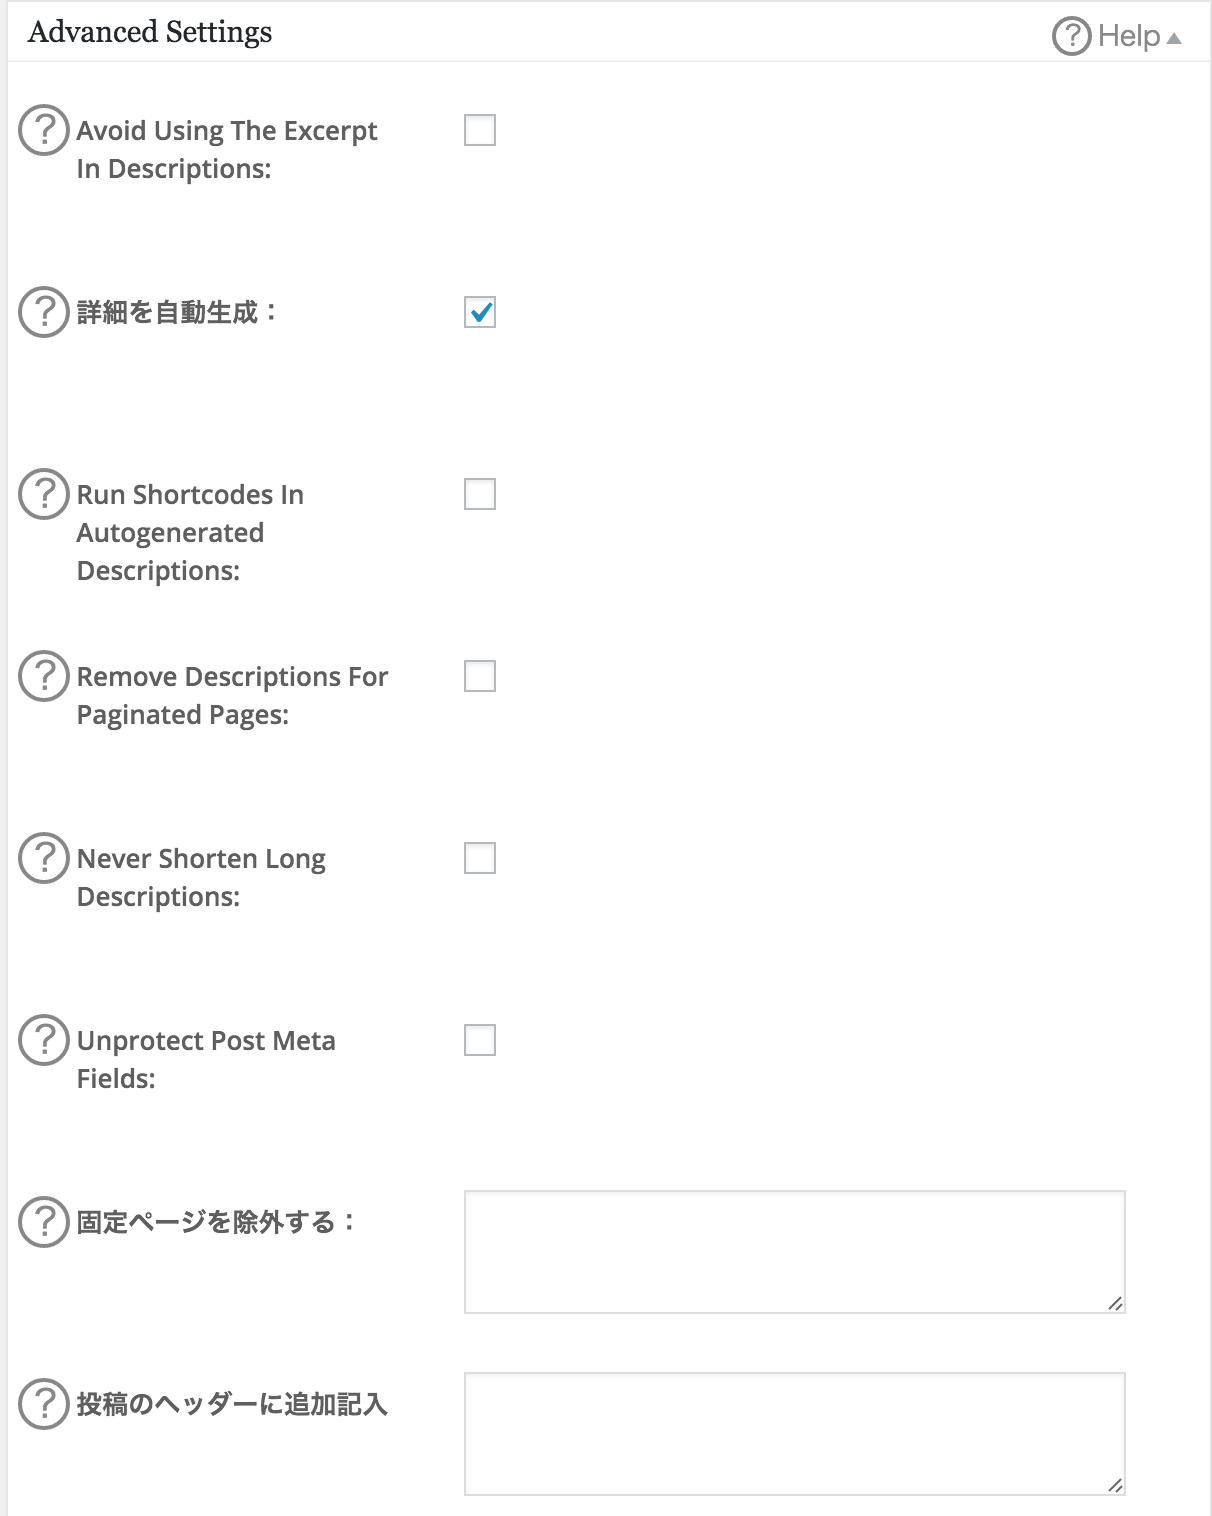
Advanced Settings
下図の用に設定します。
最後に保存を押します。
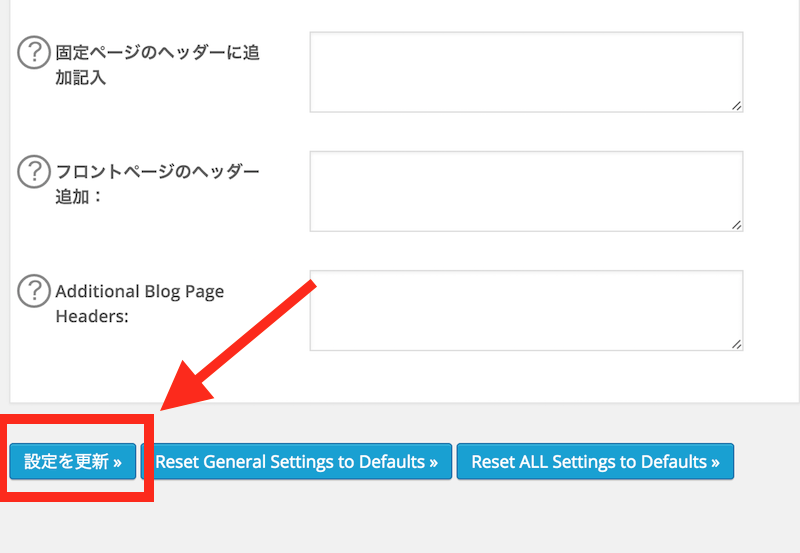
以上でGeneralSettings基本設定は終了です。